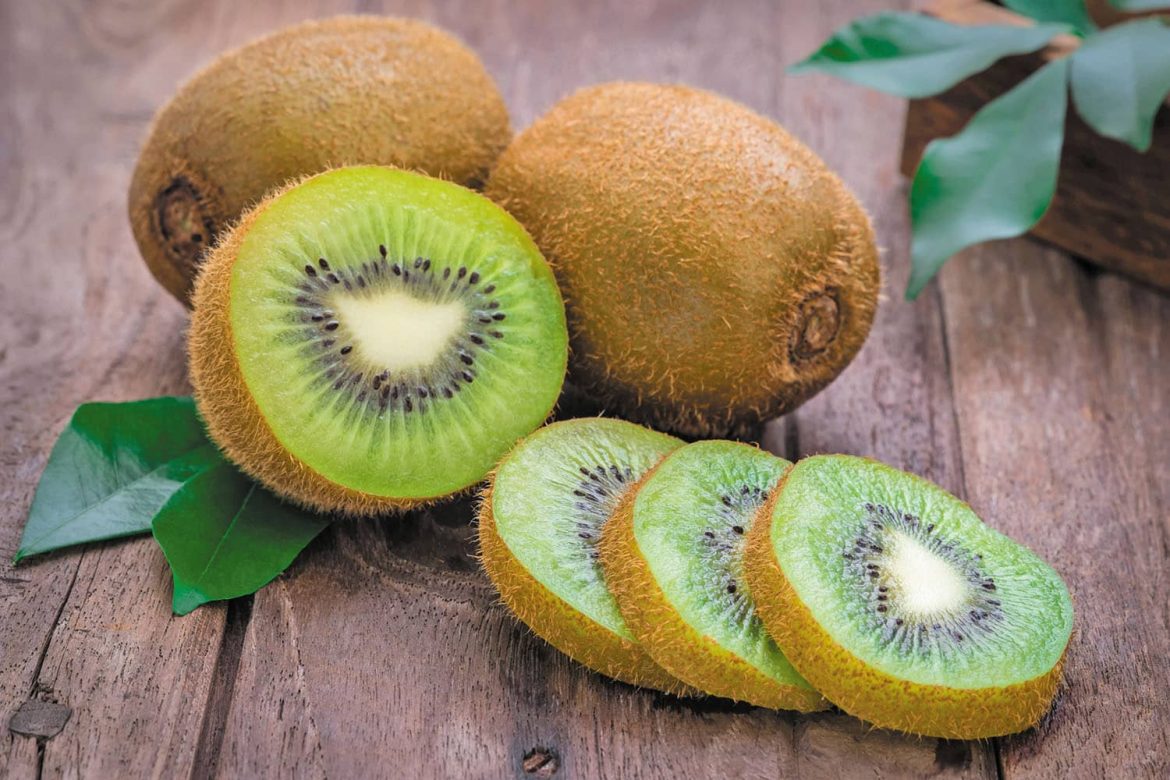
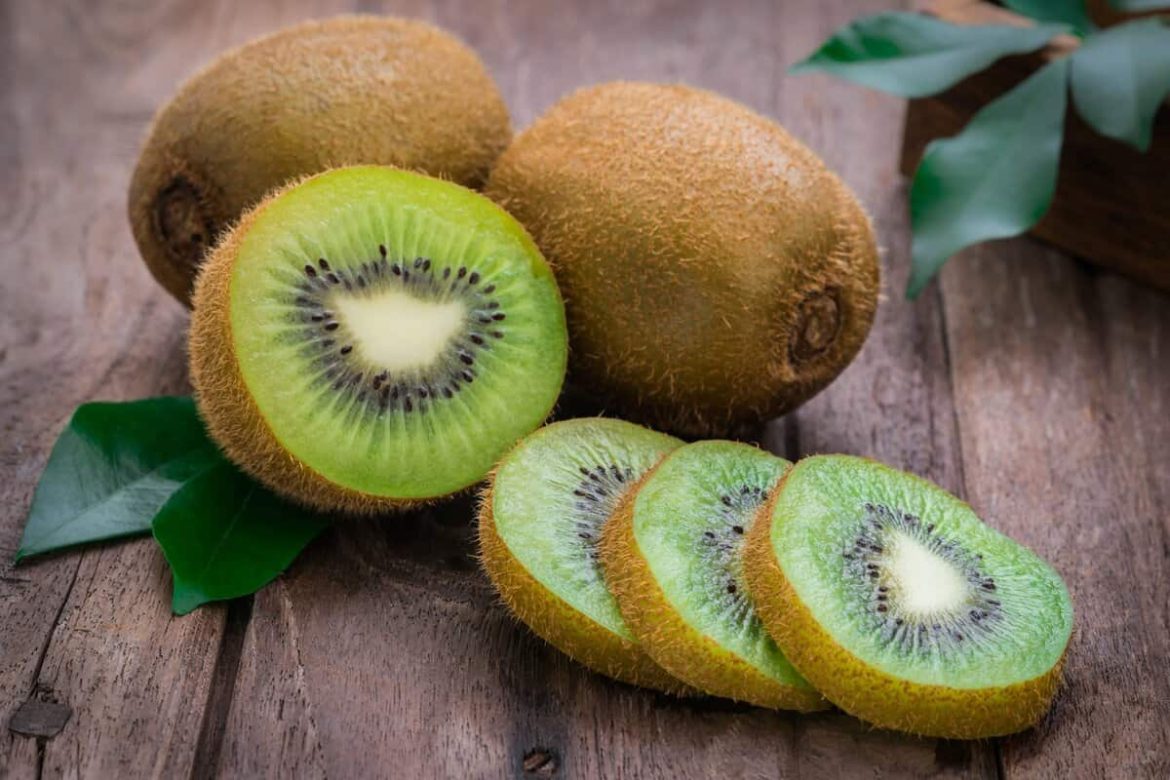
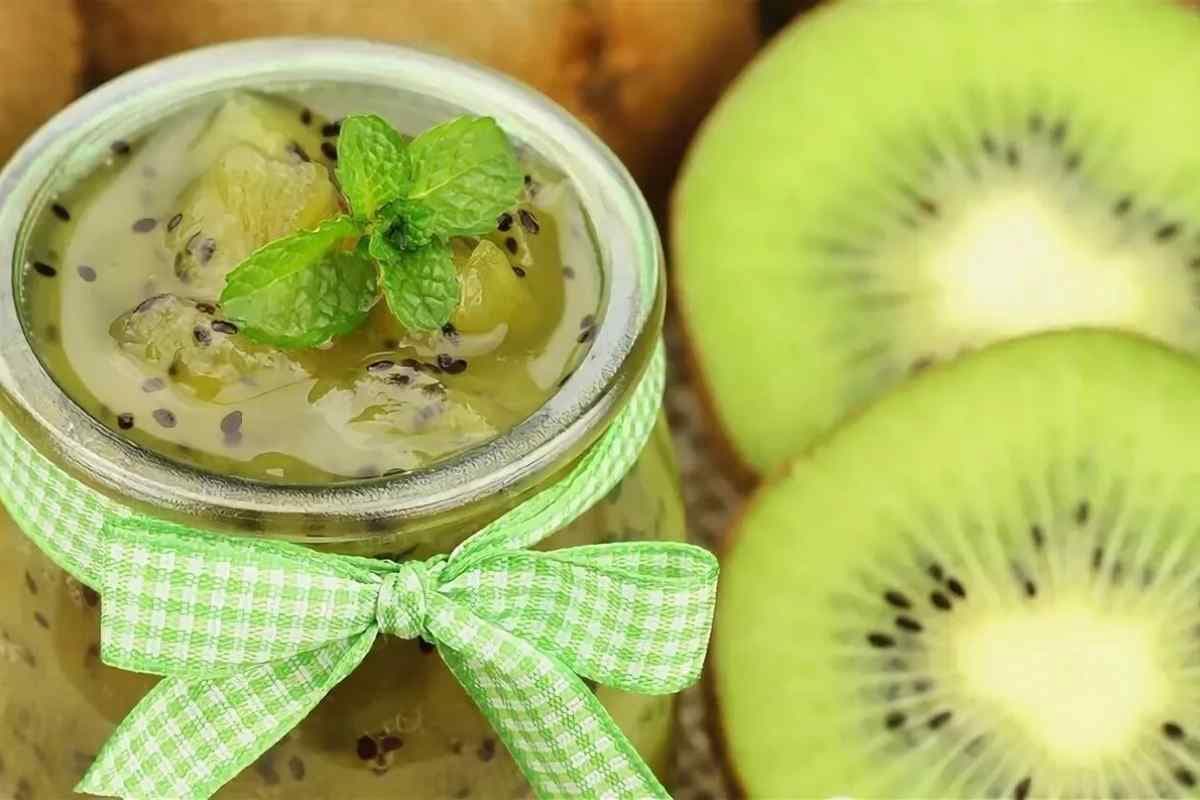
What Is Kiwi Pickle + Purchase Price of Kiwi Pickle
Pickles and chutney made with kiwi fruit by the Indian recipe are one of the most flavorful pickles you can ever have
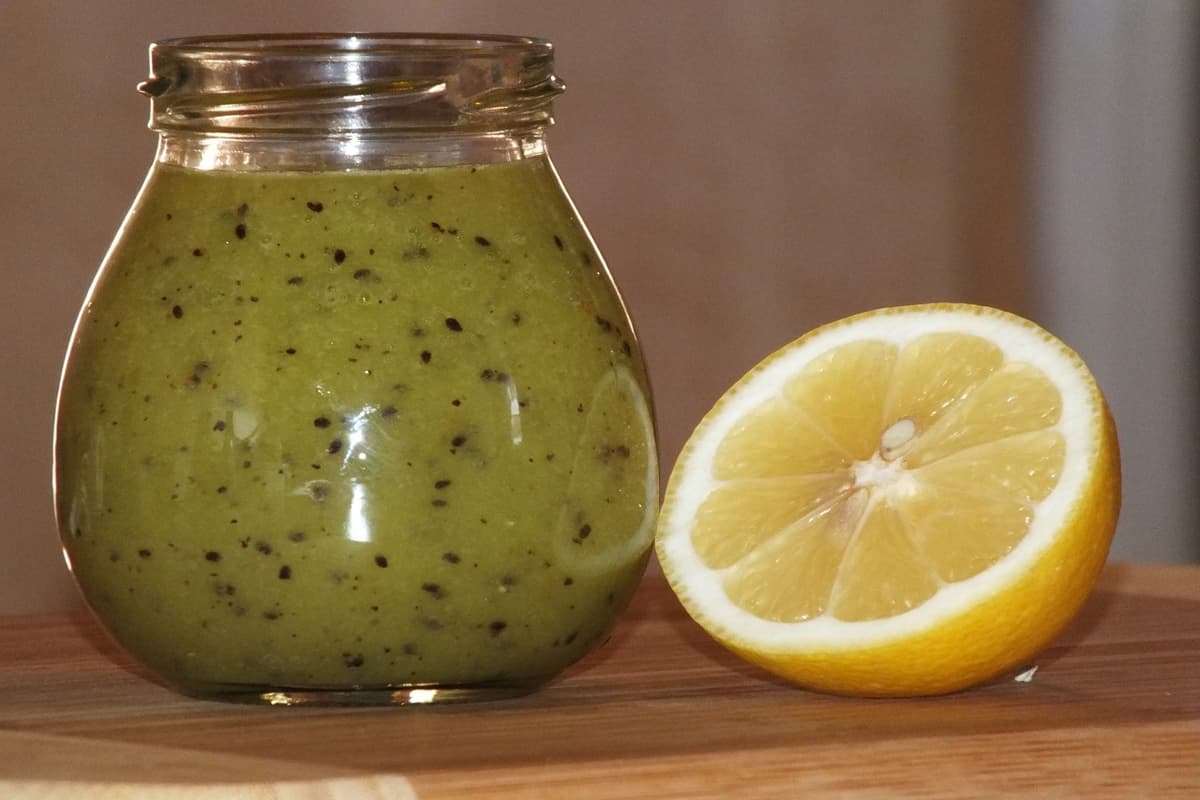
Cook bananas, kiwis, sweet onions, lemon zest, lemon juice, raisins, and brown sugar in a heavy saucepan with salt and white vinegar until the bananas are soft and the kiwis are mushy
Cover and simmer for an hour or so until it’s thickened to your liking
As it thickens, keep an eye out for scorching
There should be no immediate filling of the path when you pull a spoon through it when the chutney’s appropriate consistency
Take a little spoonful out and see if it piles up on the spoon; if it does, it’s thick enough
For those who don’t want to scan their chutney, they can store it in the fridge and enjoy it within a few weeks, or even freeze it if they choose
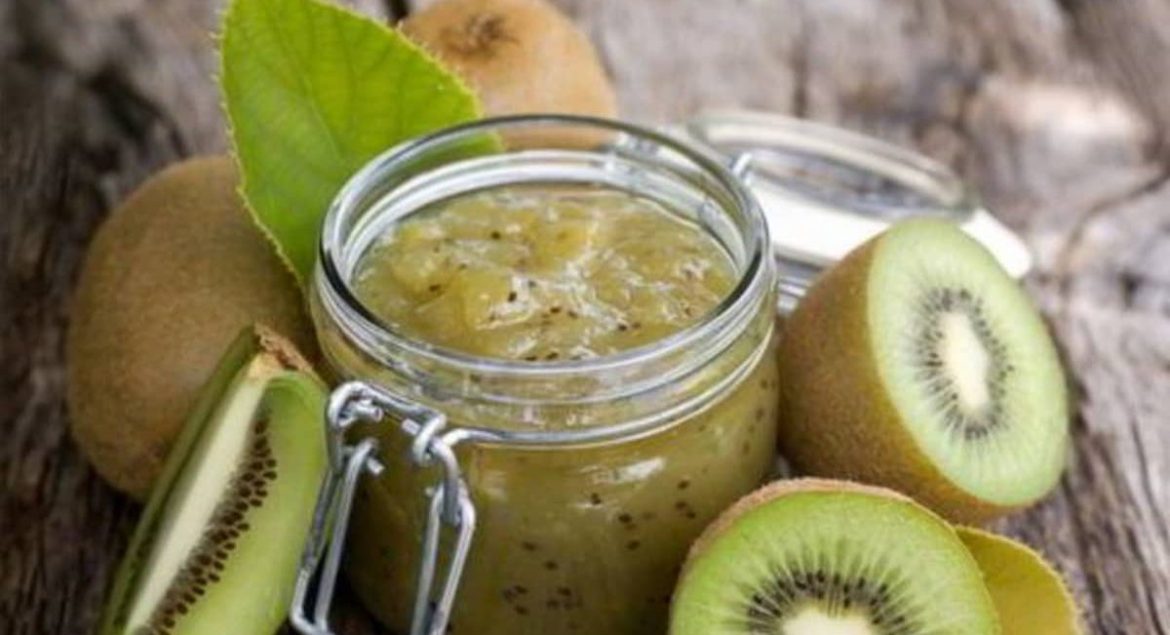
You’ll need to take the following steps, though, if you want to can the chutney and keep it for months or give it as a gift
Boil the canning jars for 15 minutes to sterilize them
Prepare the lids in accordance with the manufacturer’s instructions
Leaving at least a half-inch of headroom, fill the jars with the chutney
Ensure that the cover does not touch the chutney
Follow the manufacturer’s directions for the lids and seals you’ve chosen and place them in a hot water bath before bringing them to a boil
Following cooling and testing of the seals, you may then place a label on the jars with the contents and the day of preparation
You can still store the chutney in the jars in the refrigerator and consume it over the next few weeks, even if some of the jars did not seal properly
Jars that have been properly sealed can be stored for up to a year in a location that is both cool and dark
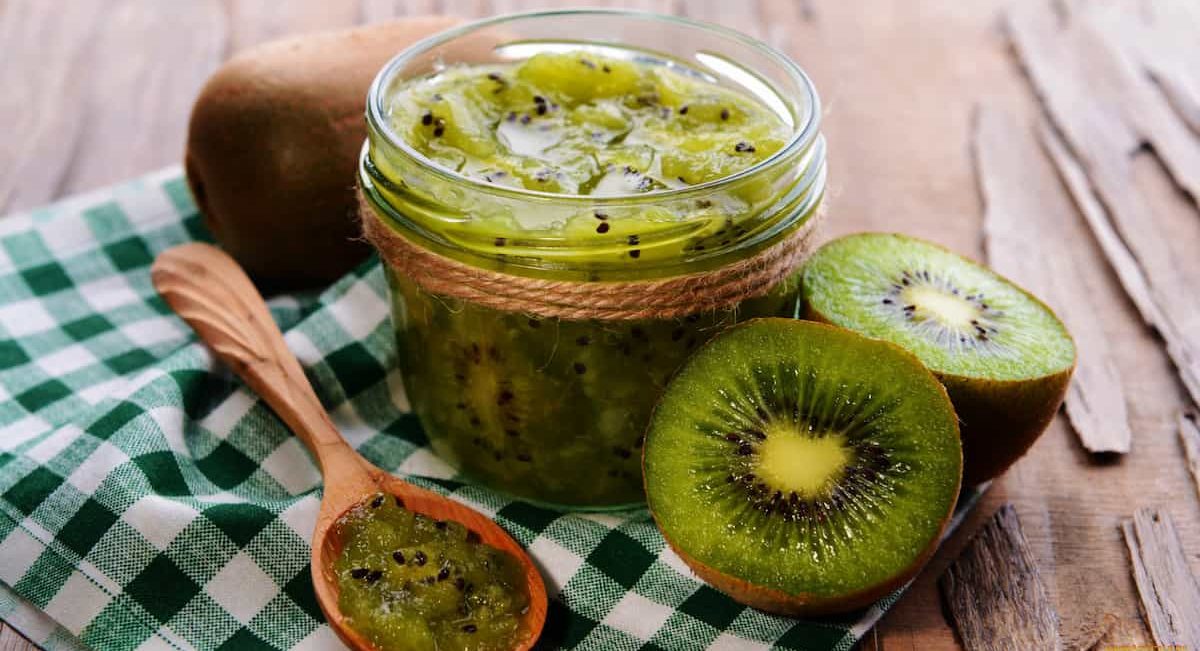
Kiwi Chutney Indian
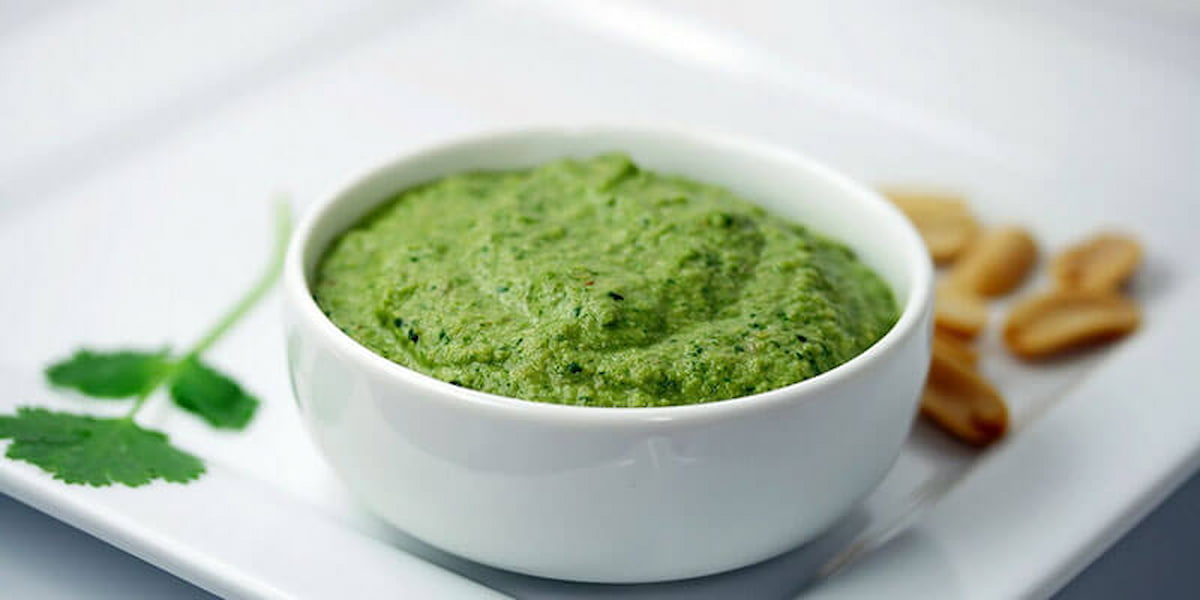
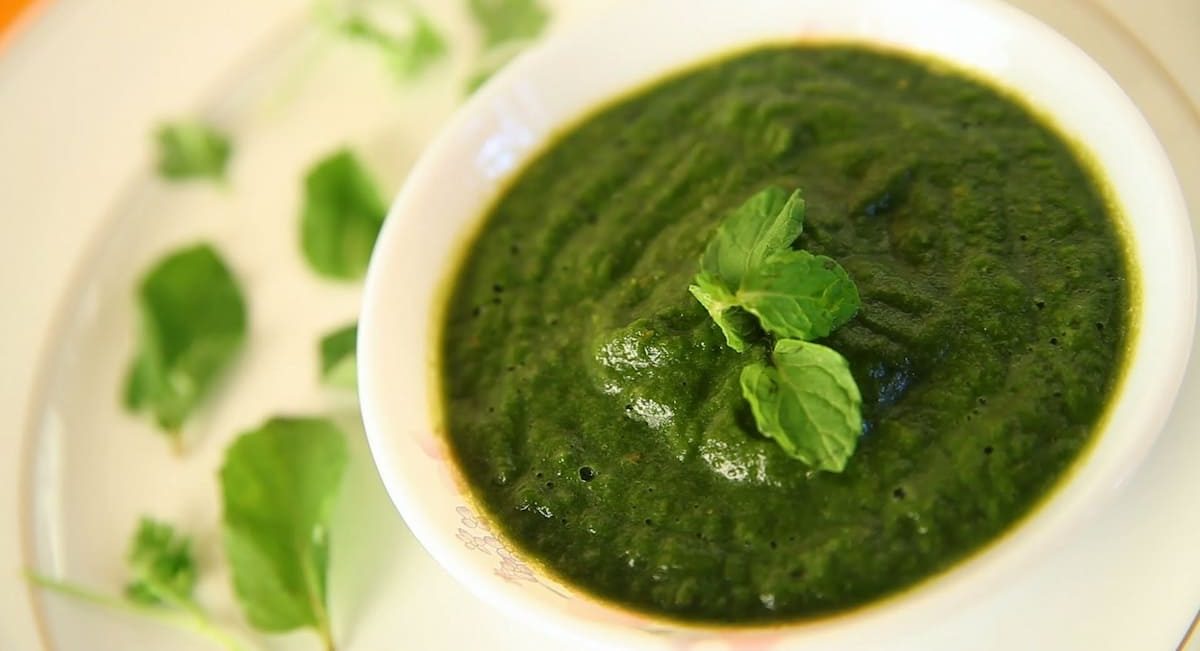
1-To make the Indian chutney by the Indian style, the leaves of mint and coriander should be put to the side after first being rinsed and then roughly cut
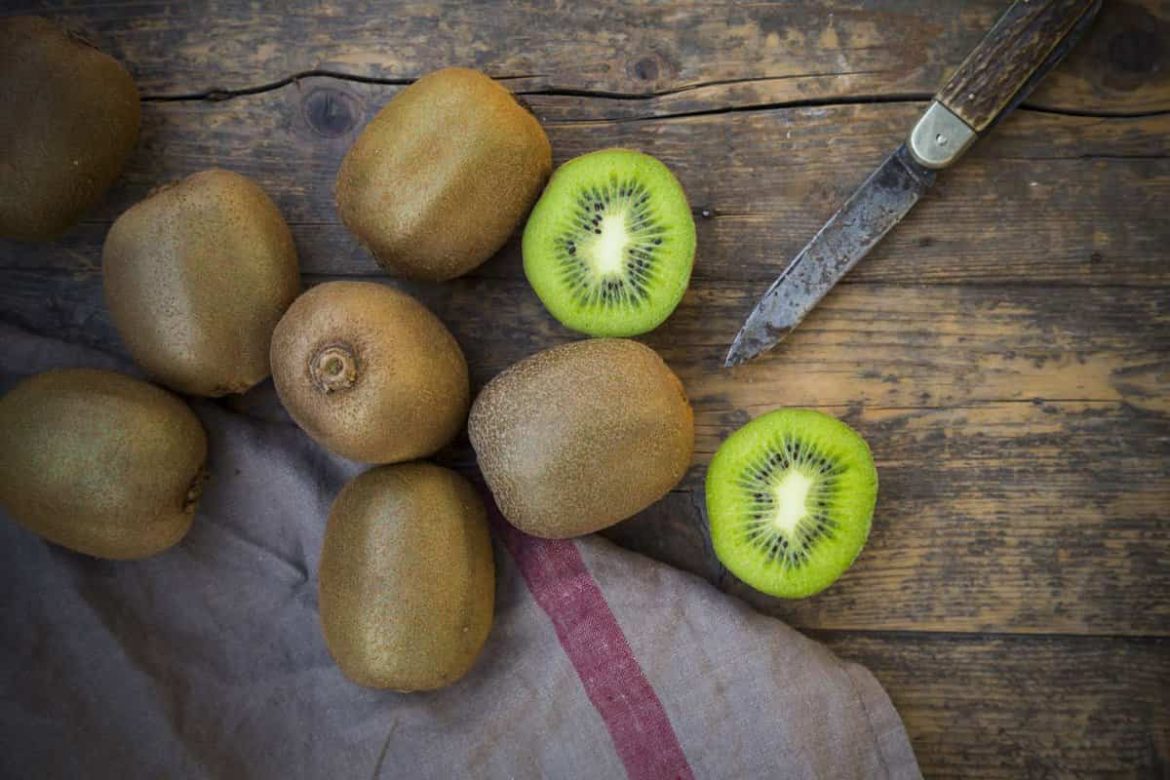
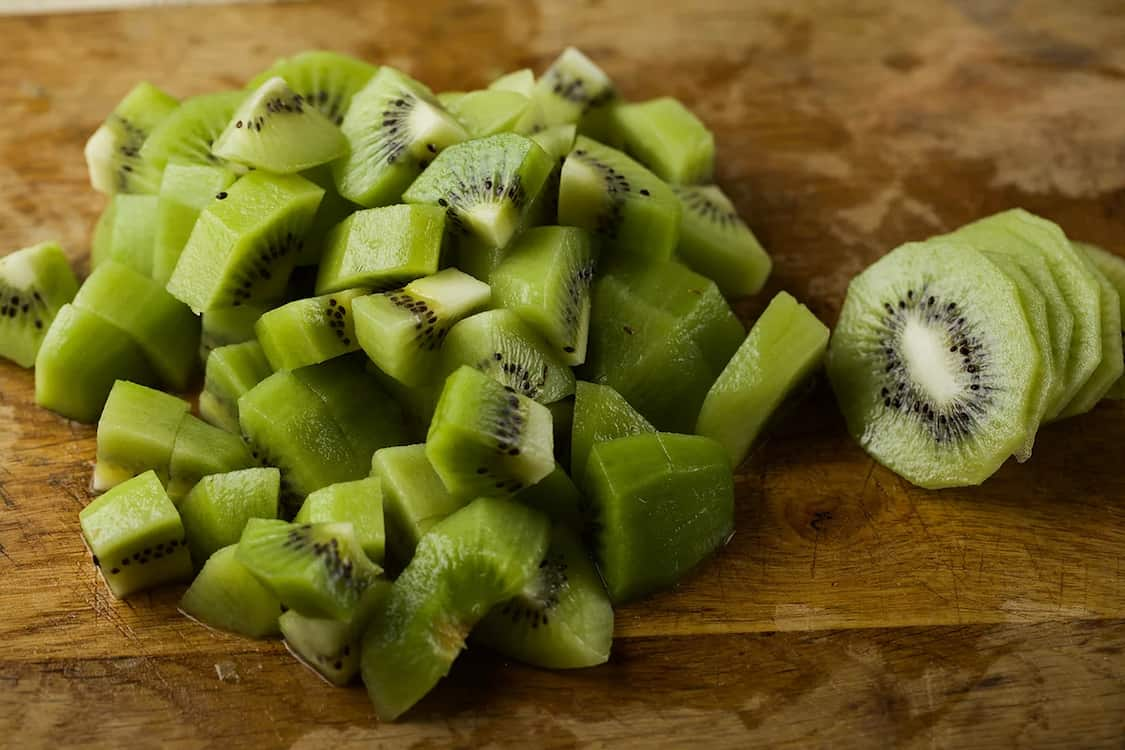
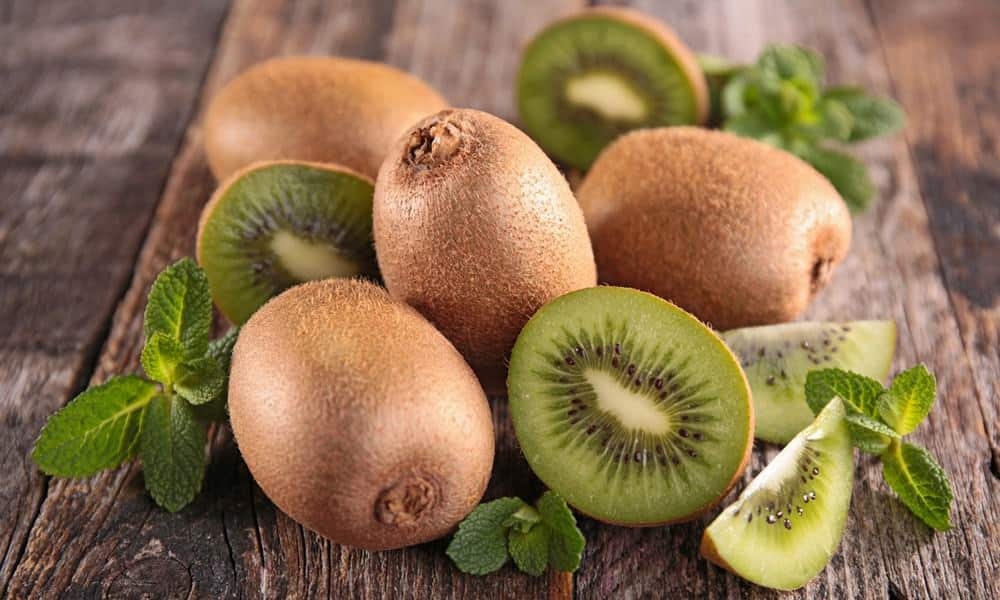
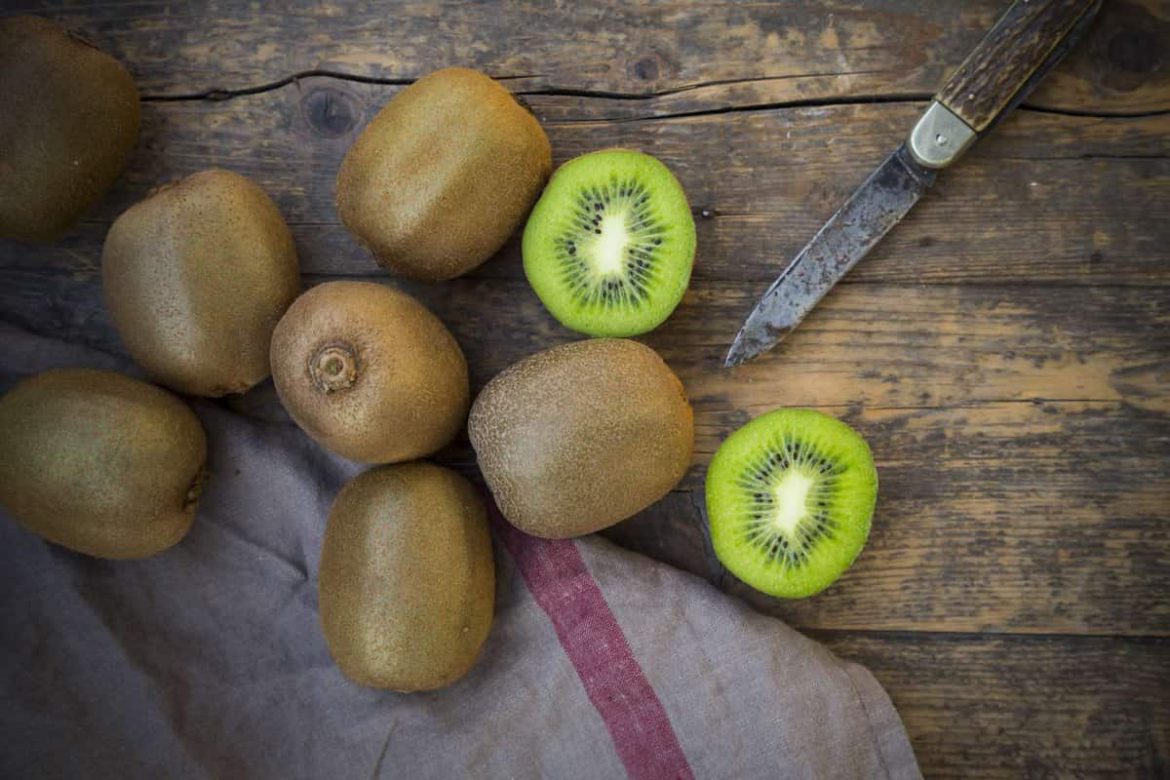
The kiwi fruit requires that it be peeled and then cut
Put all the ingredients into the jar of your mixer and blitz them together until they form a puree that is nice and smooth
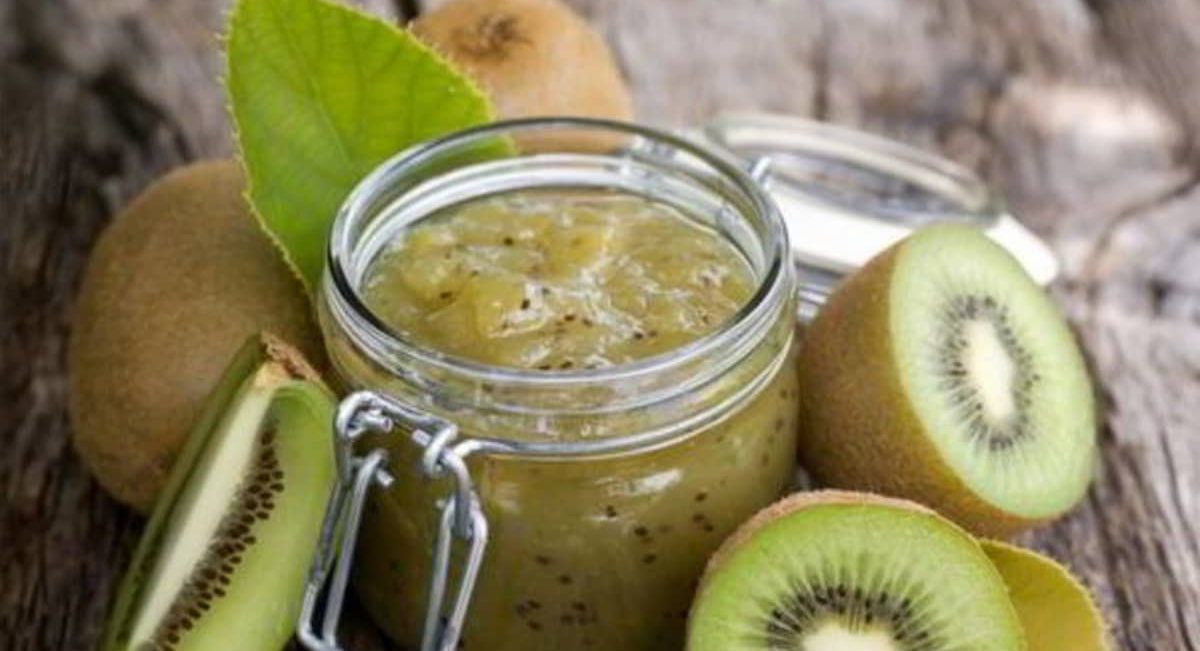
Take the dip out of the refrigerator and put it in a jar that’s made of glass instead
Keep refrigerated
When stored in the refrigerator for up to one week, the product’s quality is guaranteed to be preserved
With nibbles, chips, bread, or stuffed parathas, this can be used as a dip or spread instead
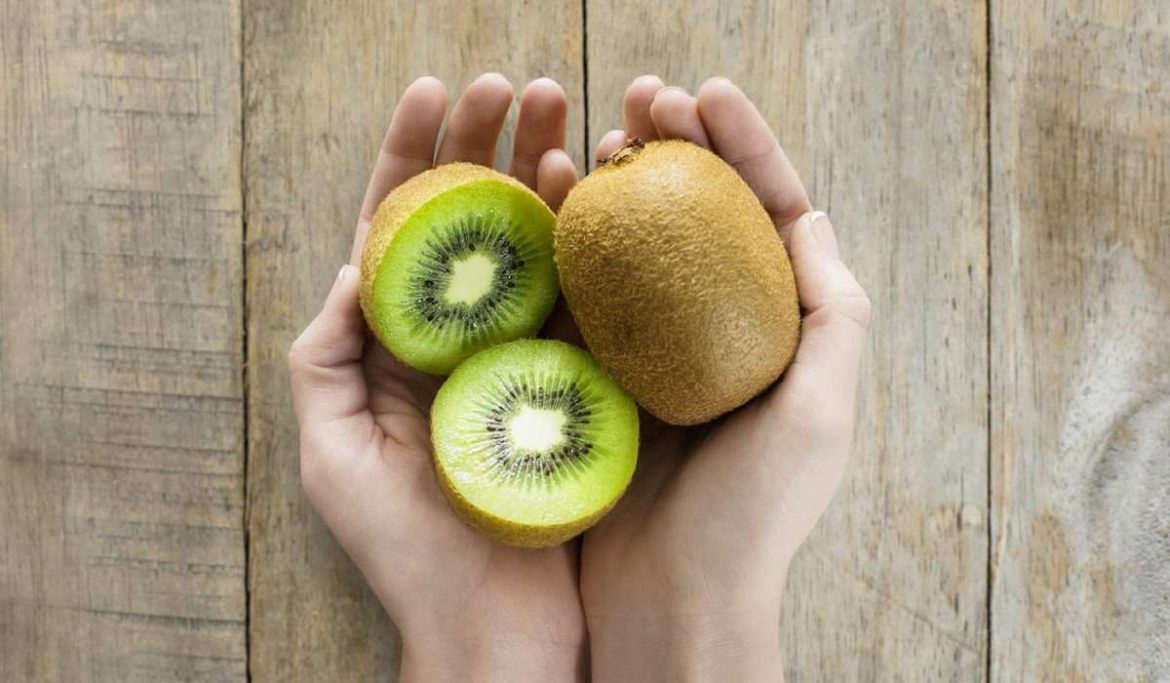
For the purpose of preparing this dip, you can use kiwis that are either a little bit underripe or fully ripe
2- Lemon juice is only added to the kiwi when it is on the sweeter side, which only happens sometimes (over ripe)
If the kiwi has a sufficiently strong sour flavor on its own, there is no need to add any additional ingredients
3- You can use only mint or only coriander in the recipe, depending on which herb you prefer more
This decision is up to you
both the process of putting food into jars to be preserved (such as jams, jellies, preserves, chutneys, and fruit), as well as the process of cooking
If you want to use honey rather than sugar, you should use 7/8 cup of honey for every cup of sugar, and the other liquid amounts should remain the same
According to the findings of several food research facilities, honey can be an acceptable replacement for as much as half of the sugar that is necessary for a recipe for making canning syrup
Kiwi and Ginger Chutney
The combination of kiwi and ginger provides you with one of the best chutneys ever
Place all of the ingredients, which should be chopped fairly roughly, into a large saucepan or preserving pan with a thick base and whisk them to combine (use the zest of one lemon and juice of all three)
Bring to a boil, then immediately turn the heat down to a simmer, and continue cooking for one hour, or until the fruit is soft and the sauce has reduced and grown thicker (whichever comes first)
Make sure to give the mixture a good stir at regular intervals while it is cooking
Take the pan off the heat and let the mixture lie undisturbed for ten minutes so that it can get less heated
This will allow the mixture to cool down
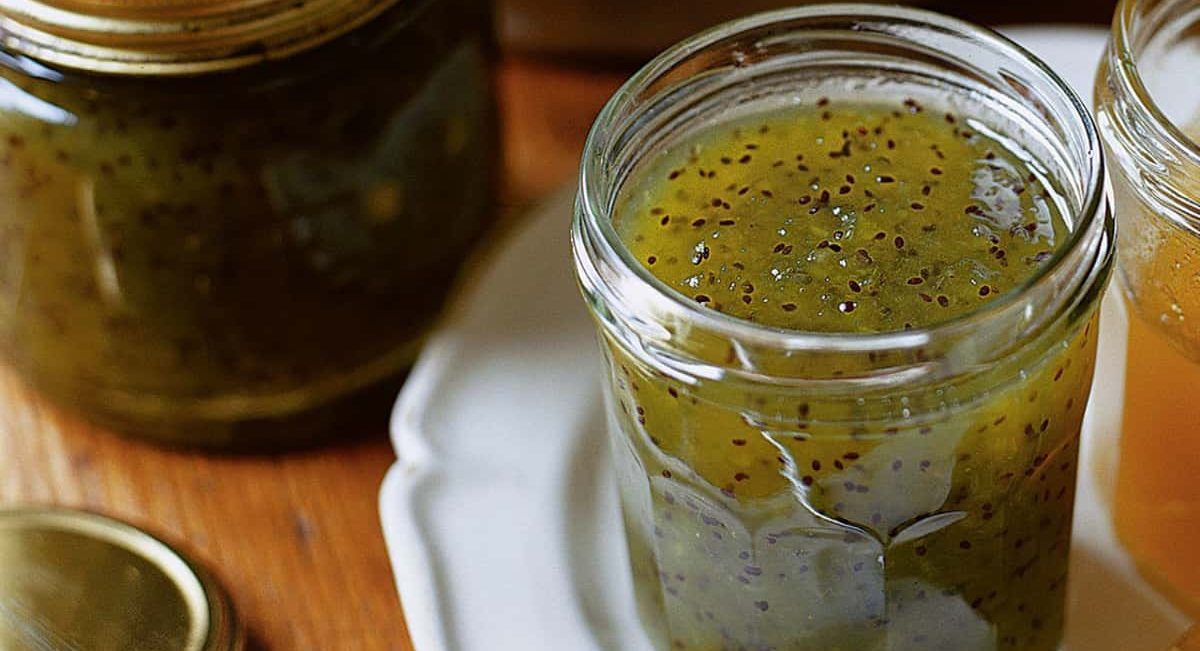
After giving the mixture a good stir to ensure that the fruit is distributed evenly, spoon it into jars that have been cooked and sterilized, and then place the lids on the jars in a manner that ensures they are airtight
You can serve this as a side dish with cheese and crackers, alongside pork, poultry, or fish that has been prepared in a straightforward fashion, or as a complement to a variety of different kinds of curries
Making chutney is a fantastic idea if you want to make the most use of a bountiful harvest
This recipe, which was kindly donated by Shal from Auckland as part of our harvest recipe competition, looks like a lovely way to make the most of kiwifruit when there is a large supply of them available
Shal contributed this recipe as part of our competition to find the best harvest dish

Kiwi Recipes Indian
This Fruit Kiwi Burfi recipe is a healthy and hearty Indian food
Kiwi, ghee, khoya, and sugar combine perfectly in this Fusion recipe
The fruity flavors in this easy Fruit Kiwi Burfi make it so delicious
This colorful dessert recipe is perfect for celebrations
Kiwi has vitamin C, K, E, antioxidants, and fiber
Try this healthy recipe at home and enjoy the sweet flavors
To begin making this mouthwatering dish, slice the kiwi and set it aside
This will be the first step
Next, grate some khoya and place it in a bowl on a low-sided base
After adding some ghee to a pan and heating it over low heat for a few minutes, remove the pan from the heat and stir in the khoya and kiwi mixture
Keep a few kiwi slices aside to use as a garnish
After that, place a tablespoon of ghee and a cup of grated coconut in a pot, heat it over a medium flame, and then reduce the heat to a low setting
Two minutes should be allowed for the cooking of the grated coconut
The khoya and kiwi combination should be combined in a pan as soon as possible, after which sugar and some ghee should be added to the pan
Continue to boil the mixture until a fragrant perfume fills the air and the consistency changes to become softer
When everything is finished, turn off the heat and set the pan to the side
Now, grab the tray, and using the brush, coat it with ghee
Pour the prepared mixture onto the tray that has been oiled, and then spread it out evenly while retaining the mixture’s thickness
After the mixture has had time to cool, sandwich the kiwi slices in between two layers of the dough, and then cut the burfi into the appropriate shapes
Refrigerate and serve

Chutney/Relish Recipes
The recipe of chutneys are typically made with fruit, and they have the consistency of chunky preserves that can be spreadable
In general, chutneys are chunkier than preserves
On the other hand, relishes go through very little cooking, contain very little sugar if any at all, have a crunchier texture when you bite into them, and incorporate a variety of veggies
Although the phrases relish and chutney are frequently interchanged with one another, there are some fundamental distinctions between the two condiments
Relish and chutney are extremely comparable to one another
Chutneys are often cooked for a significantly longer period of time than relishes
As a direct consequence of this, the two condiments have a tendency to differ from one another in terms of their texture and consistency
Put all of the ingredients, with the exception of the cranberries, into a large saucepan with a heavy bottom
Heat the mixture over low heat while stirring constantly until the sugar has dissolved
Bring to a boil, then reduce heat and simmer, uncovered, for around fifty minutes, stirring frequently, until the apples and onions are soft, the mixture has thickened, and there is no more watery juice remaining
Add the dried cranberries to the pan and continue cooking for another ten minutes or so, until they have just become pliable but have not burst
Transfer the hot chutney to jars that have been previously sterilized and then seal them
Place in an area that is cold and dark as long as it is still closed
The chutney will remain edible for up to half a year if stored properly
The opening should be served cold
After opening, place the container in the refrigerator and consume it within a period of four weeks
Making Chutney Tips
Chutney which has many tips for making brings out levels of flavor that are both subtle and intense in everything from meat roasted over smoky wood to vegetarian pleasures based on tofu
Chutney can be found in a variety of flavors and textures at most grocery shops but creating your own chutney from scratch is a worthwhile endeavor for any home cook
To make a stunning chutney, you’ll need to know which kitchen pans and tools to use, as well as which herbs and spices have the best high notes that will have your guests standing up and applauding at the end of your meal
In contrast to jam, chutney isn’t just sweet all the way to the bone
For breakfast or lunch, jam is a tasty spread on toast, muffins, and other baked goods
For those who prefer something sweeter, there’s always chutney, a tangy-sour condiment that’s hard to put down once you’ve had a taste for it
As a condiment, chutney’s goal is not only to enhance the foods it’s served, but to make the leap into a new realm of flavor
It all begins with the right ingredients
Basic chutneys include ingredients such as garlic, onion, vinegar, and lime or lemon cha-cha, along with dried or fresh mangoes, apricots, or citrus fruit
Some chutneys are spicier thanks to ginger and hot peppers, while others include everything from pomegranates and star anise to rhubarb, figs, and even shrimp
The secret to a great chutney is all in the balance of flavors; no fruit, vegetable, spice, or herb is off-limits when it comes to creating one
Deep flavors can serve as the background music, while other flavors should be layered in note by note to create a unique flavor profile for each dish
Basic Chutney Ratios
Chutney is one of those foods where, once you’ve prepared it a few times, you can do whatever you want with it
A wide variety of basic fruits and vegetables can be used to the ratios you are making, as well as different seasonings
Put the parsnips in a pan so that they can all fit tightly
Pour some water on top
Boil them for about 15 minutes until they’ve softened up
Peel and chop once they’ve had a chance to cool (about 5-10mm cubes)
In a large pan, combine the parsnips and bananas, and cook until soft
Make fine slivers of onion and apple with the dates
Toss everything else in the pan with the beans
Stir all the ingredients together thoroughly in a medium-sized saucepan over medium heat
Ten minutes of simmering is all it takes once the mixture has started to boil
Prepare your oven to 110C/225F/Gas Mark 14 while you’re doing that
Using a wooden spoon, stir the mixture frequently to avoid it sticking to the bottom of the pan
Cook for about 20 minutes over medium-high heat
To sterilize the jam jars, place them in the oven for 20 minutes without the lids, once they have been thoroughly cleaned
Afterward, turn off the oven and leave the jars in there
After 20 minutes of baking the jars, continue cooking the chutney
After the chutney has been simmering for a while, turn off the heat and cool the jars completely in the oven
Place the chutney in the cup and press it down firmly
At this point, you can go ahead and fully tighten the lids